Tuesday, May 31, 2011

Presentation Tuesday - LemonVerbena1

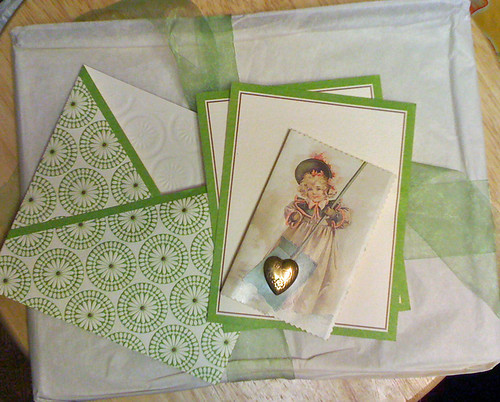
These Victorian photo album pages came from LemonVerbena1 on Etsy. The packaging was exquisite.


I opened up the box and this is what I saw:


presentation


Very simple, yet elegant.  Here's the card:


the card


The lovely card and heart were extras.


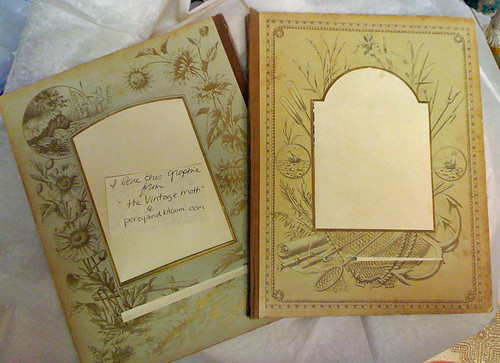
The reveal:


the reveal 1

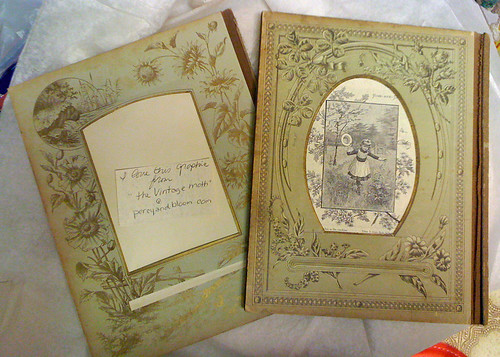
And the other side:


the reveal 2

She included a note referencing The Vintage Moth.  The Vintage Moth is a wonderful source of free antique and vintage images for artists. 


Since I started getting wonderfully wrapped packages like this I've tried to improve my packaging and presentation. It's so much fun unwrapping "presents."

Tuesday, May 24, 2011

Presentation Tuesday - Vintage1955

Presentation Tuesday, for those who missed my first post, deals with the art of presentation and packaging.  

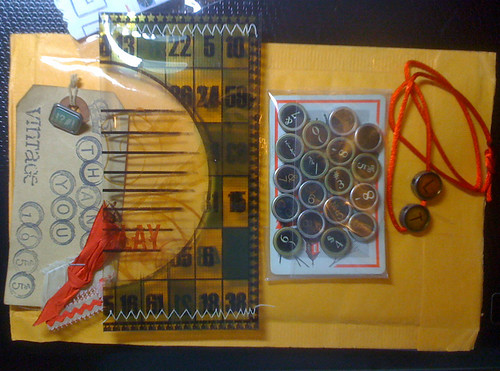
I ordered some vintage typewriter keys from Vintage1955 on Etsy.  Here's the envelope:


Vintage 1955 envelope

I love the collaged envelope!  I don't know if she puts the typewriter on all her envelopes, or if this was coordinated with the keys I ordered. It's a fun piece of mail art.


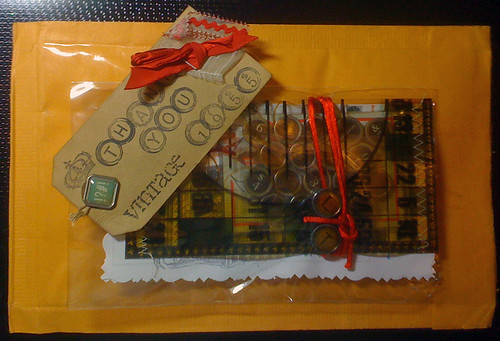
The keys were nicely wrapped in a handmade sewn envelope:


the wrapping

Note the "thank you" tag complete with bow and brad. 


Here are all the items unwrapped.  Vintage1955 also added the commercial "L" and "T" letters as a freebie.  My initials!  How thoughtful.


the unveiling

It's so much fun to get an order wrapped like this. 

Friday, May 20, 2011

Friday iPhone Photo Fun #2 Cat Tales

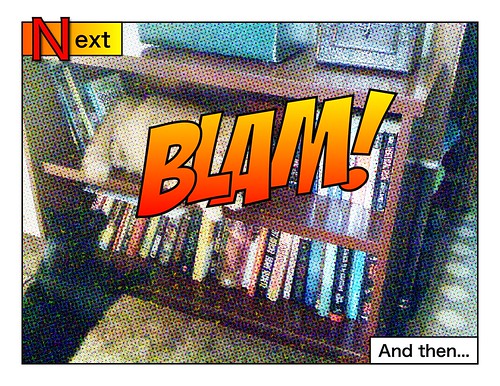
I've been amusing myself editing photos with the iPhone.  There are lots of fun apps.  This week I used the Halftone app to give some pictures a comic book look.


Scrappy fishing

Scrappy follows me to the pond when I feed the fish.  Everyday he's disappointed that the fish won't come out of the water.  He does like the fish food flavored pond water though.


I have a new book case.  It has a kind of 50's style, even though I think it's newer than that.  Probably I'll paint it someday.  Right now the cats are enamored with the new perch. 


Cat Tales #1

Cat Tales #2

Cat Tales #3

Wednesday, May 18, 2011

Bead Table Wednesday--Forging

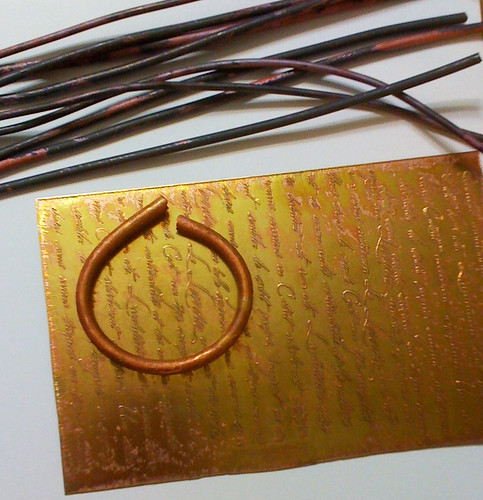
annealed copper and brass

There's not much on the bead table today.  I have this copper wire which I've annealed prior to texturing and shaping into cuffs and bangles.  Some of the thinner wire, which is 8 gauge, will be made into forged wire pendants if all goes to plan. The partially shaped cuff is 2 gauge. Usually I trim the ends before shaping but I was going for a particular size so I shaped first. I had wanted to work some more 2 gauge today to make larger man-sized cuffs but I seem to be out of 2 gauge.  The largest wire I can get locally is 4 gauge so I'll have to mail order some.


My son, Stefan, is interested in forging some of the bracelets.  We had planned to work on that today but didn't make it.  Hopefully tomorrow. 


The etched brass is waiting for a bath to remove the pink.  Probably it will become back pieces for pendants.   I've been playing with some of the drawer handles hardware (shown here) and am trying to figure out how to connect the pieces.  I want to frame a photo with the hardware and am thinking about soldering versus cold connections. I've never tried to rivet something so narrow but I'm probably less likely to make a mess riveting than soldering.  


Back to work!

Tuesday, May 17, 2011

Presentation Tuesday

I've been thinking about doing a series on artful presentation for some time.  I've got a little collection of photos of things I've ordered from Etsy and elsewhere that had special little touches, beautiful wrapping, or some other artful presentation.  This is the first post. 


Retro Stash presentation


I received these little brainless frozen Charlottes from RetroStash a couple of days ago. They're "brainless" because the top of the head is missing by design.  I have something seriously twisted in "mind" --all puns intended--for them. 


The stamped designs on the envelope are a special touch that I appreciate.  Even the Fragile stamp has been used artistically by repeating it. I love her return address stamp. I do this sometimes myself by stamping a thank you stamp on the back of the envelope, and room permitting, a large hand stamp on the front. It's a quick and inexpensive way to make your packages stand out.  The Charlottes (Charlies?) were each wrapped in rolls of bubble wrap about 2.5 inches in diameter so the envelope was quite fat. They were well protected on their journey to me. RetroStash also used a plaid packing tape on the back (not shown) and inside on the bubble wrap that matched the ink color of the stamp designs.  The coordination of color shows that thought went into the packaging. 


Getting a package with some artistry or special touches in the packaging is like getting a present.   And who doesn't like presents?


I'll post Presentation Tuesday when I have something to post on.  I've got a little backlog, so I know I'll have a few more. 


Sunday, May 15, 2011

Wedding in Mumbai


Clockwise from top: Angela (the bride), her mother Mary, her sister Sarah, her friend Kellie, and her step-mother Cori.

I love this photo from my niece's wedding in Mumbai, India. I love it partly because the mehndi looks so fun, and the patterns are so interesting.  And I love it because it represents a celebration by these women of a cultural custom that none of these women where born into.

Mehndi is the application of henna in elaborate designs on the hands, and in the case of the bride, on the feet.  It is commonly done for weddings, but also for childbirth.  Some believe the deeper the red color the greater the love in the marriage, and the better the bond between the bride and her mother-in-law.  The bride also doesn't have to do housework until the mehndi fades, usually in two or three weeks.  Sometimes the groom's name or initials are hidden in the pattern and he is tasked with finding them.

Last year my niece, Angela, and her husband Suhail married in New York.  This spring they had a wedding in India.  I wasn't able to go but several of my family members went. 


Weddings in India take place over several days.  Suhail's family hired professionals to apply the mehndi.  Here is Angela getting started with her mehndi. The henna is in paste form, and looks very dark until the paste flakes off hours later.  Then the patterns are dark red in color.


Left: my sister-in-law Mary, and my niece Sarah on the right


Here is Angela with the finished design.  It is very dark because the paste is still on. She's so beautiful. And isn't her jewelry beautiful and interesting?  I want to find out more about the history of this jewelry.  It resembles in design the jewelry often shown on Kwan Yin.  I've been unsuccessful in my quest to find out about Kwan Yin's jewelry.


Suhail and Angela


Here's the bride and groom. You can get a peek at the mehndi on her feet in this photo.


My brother Lee, Angela's father.


My brother Lee and Angela were the only two blue eyed people at the wedding.  There was a lot of interest in their eye color.  This red dress is the wedding dress. I wish I had a better picture of the skirt.  It is very elaborate and gorgeous.  My brother is wearing traditional dress here.  All the members of my family wore traditional Indian dress during the wedding.


Family members.  My sister-in-law, Cori, second from left, took many of these photos.


The happy bride and groom--Suhail and Angela.

Here is the bride and groom on the wedding day. We're so happy to have Suhail in the family. 


Friday, May 6, 2011

Friday iPhone Photo Fun

I like using alliteration in titles, just in case you can't tell.

IMG_2102lctweb

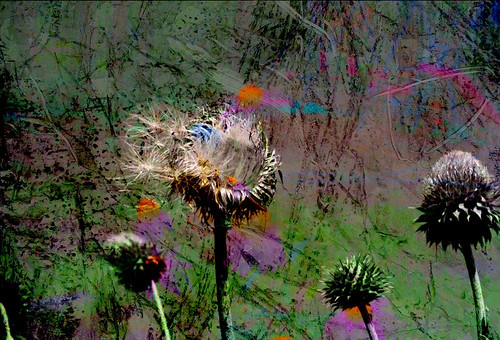
Recently I read an article in the Autumn issue of Somerset Digital Studio.  The article is "Designing Digitally with your iPhone" by Nettie Edwards.  I was amazed by her work and  inspired to try some collage style editing with my iPhone apps.

The above photo was created by merging two photos using the app Backgroundz. Then I cropped the photo using the Photoshop Express app. 

IMG_2103lctoddweb

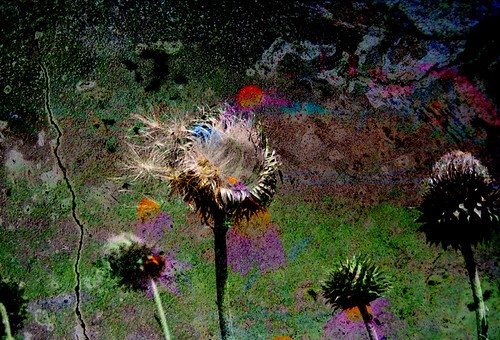
Next I used Pic Grunger to produce the above shot and these:

IMG_2105lctwweb

IMG_2104lctweb

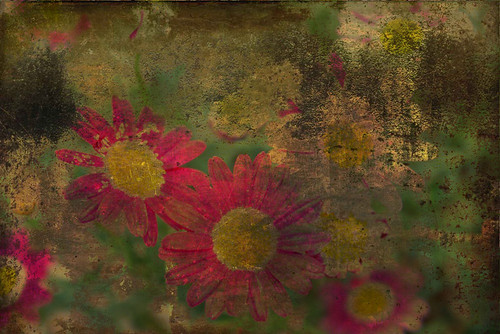
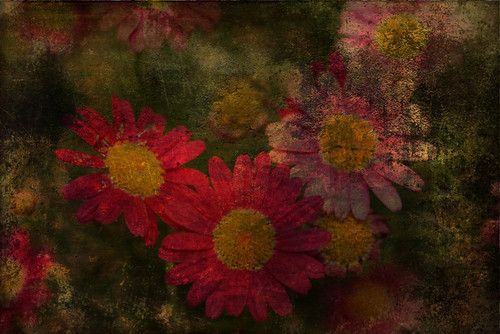
Here's a second series using the Pic Grunger app:

IMG_2106lctweb

IMG_2107lctweb

IMG_2108lctweb

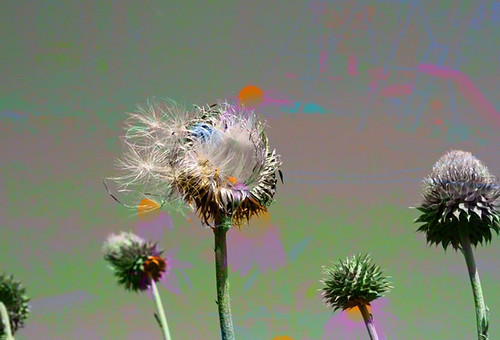
The flower pictures will make a background for further collage after some more work. I'm pretty happy with the thistle pictures just the way they are.  Probably I'll find other things to do with them when I get some more practice and more apps.  The framed thistle picture and the first flower picture are my favorites.

The original thistle photo is here. I spent an hour or so one very windy day taking photos of thistles and the bees that were busy harvesting the pollen.  The wind was gusting very hard and whipping the flowers back and forth. Many of the plants were taller than I am. It was difficult to get shots. At times I held the stalk with one hand and the camera with the other. The bees were sometimes blown right off the thistles. I've been told that most people take close up and macro pictures of insects like bees with the camera on a tripod using a telephoto lens from a little distance.  Not me.  I get up close and run like a girl if the bees and wasps get upset.

Monday, May 2, 2011

Cool Tools for Jewelry Makers--Nail Punches

In my previous post I mentioned a cool tool I'd used to solve a riveting problem. I thought I'd show it to you today.


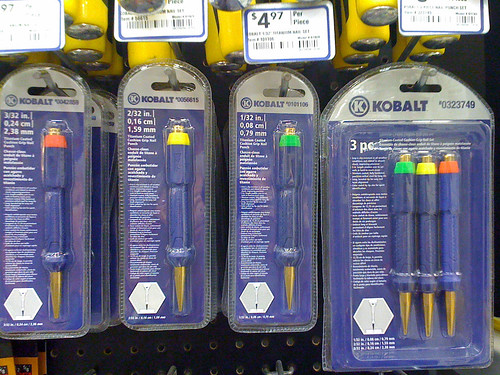
nail punches

These are nail punches. I'm not all that sure what they're supposed to be for but they work great with riveting. They can hold the rivet top when it's in a hard place to reach. The end of the tool can be hammered on. This is what I did with my cuff bracelet: I used it on the rivet top while hammering the back of the rivet when the rivet was in a recessed area. One of the best things about them is that the end of the tool is cupped. This keeps the front side of domed rivets from being flattened during the riveting process.   There's still a little deformation, but not what you get by putting the rivet head on your bench block.

Nail punches can also be used as a decorative circle stamp.

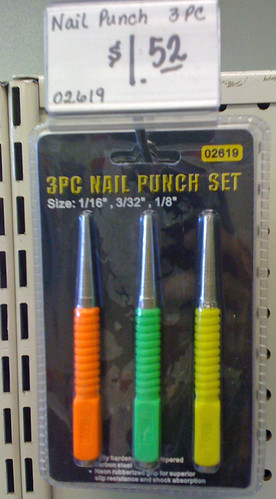
They come singly  or in sets of three, with different sized ends. They are widely available.  I think I paid about 10 dollars for for the set of three Kobalts pictured above, but you can get very inexpensive sets like this one I saw at KC Tools.

nail punches