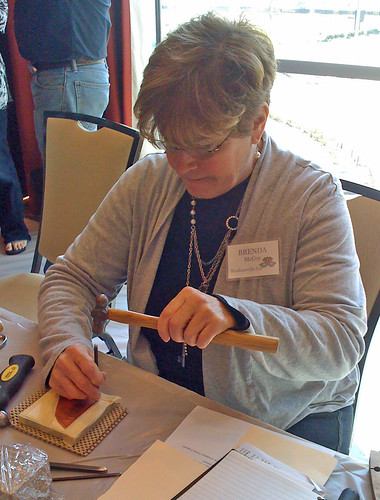
Thursday evening was Band Groupie with Melissa Manley. Bren and I were both in this class. Melissa is a great teacher and is so much fun in class. She really sets everyone to ease and explains things well.
Melissa had a handy chart to help us determine how long to cut the ring stock for a particular size. Of course, despite measuring twice and cutting once, I still cut mine one millimeter too short. This represents 1/4 size if I read the chart correctly. Next time I'll cut to the side of the line instead of right on top of it.
We textured our rings, bent them into a "D" shape, and then pick soldered them. I had never pick soldered so I was pleased to get some experience with this. The rings were then shaped, bevels filed and some polishing and antiquing was done. I was able to wear my ring, just not on the finger I had intended! My seam was looking pretty good--not showing at all--until I antiqued the ring. I think a little more polish work will take care of that.
 This is Bren's beautiful ring. Below is mine:
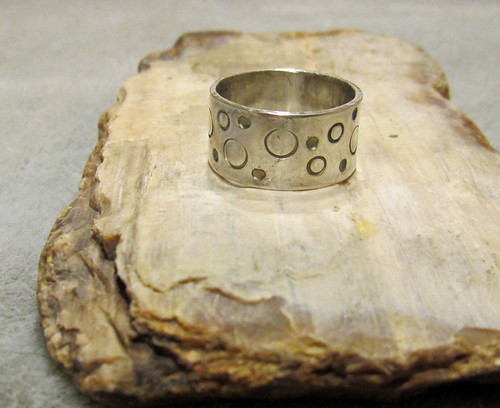 I used my hammer to gently texture the edge of my band. Now that I'm home I'll do some more polishing and put it in the tumbler for a while.
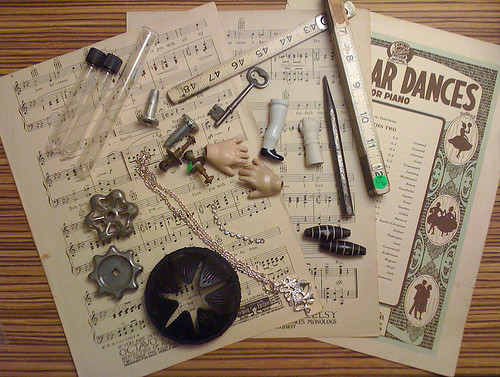
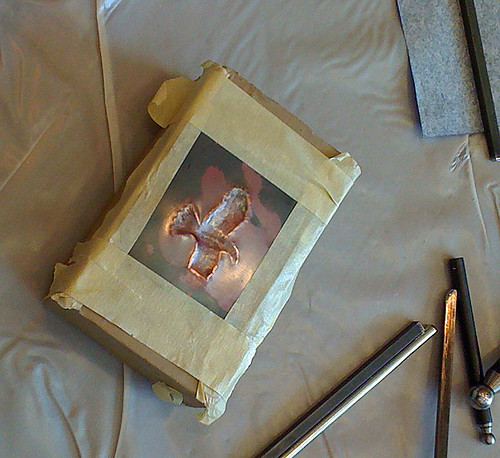
Thursday was Creating Hollow Forms in Color with Susan Lenart Kazmer. This was the first time I had done any enameling.
After some instruction from Susan I attempted counter enameling of my copper domes. Counter enameling is the enamel put on the back of the piece. It's intended to strengthen the piece so it doesn't get bent later, causing glass to pop off.
The biggest problem I had with this was dropping the little pieces before I got them to the torch. I did finally get the backs torch enameled.
The line for the torches was long so I switched to the kiln for the fronts. I experimented with various colors and also enameled a key, and the tips of some copper wires. The copper wires were done with the torch. It's a lot of fun seeing the colors pop out after firing. At first everything is dark but when it cools, or after you quench it, the color shows. The color on the enamels can change with each firing. The brown looking piece is supposed to be Victorian Red. The backs of the domes, in particular, would have benifited from additional firings if I'd had more time. Each piece was fired twice, except for the wires which were fired 4 or 5 times each.
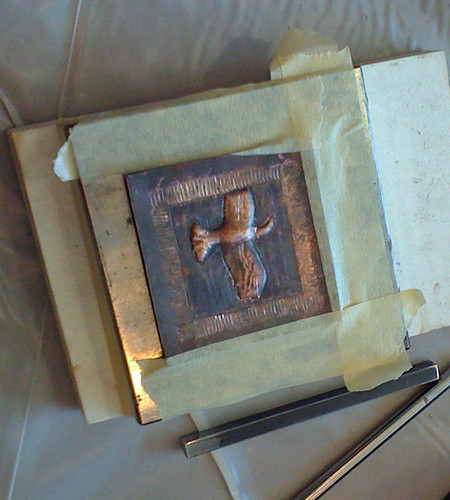
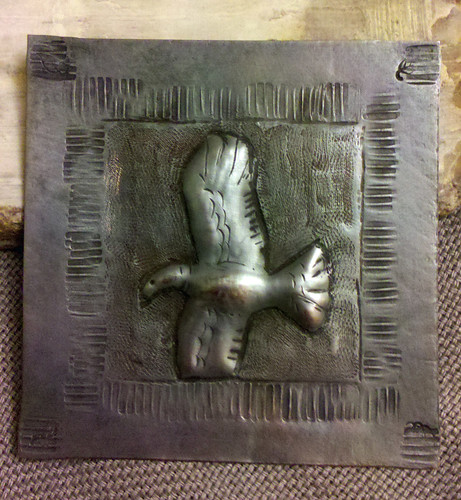
Here's my completed piece:
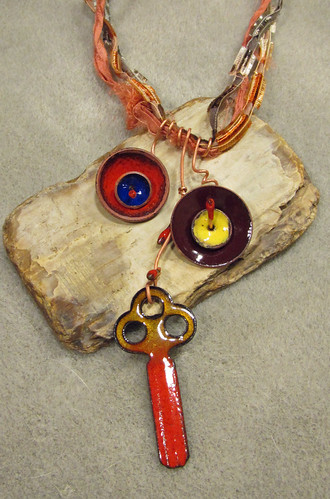 You can see I had a little trouble getting the enamel out to the edges of the copper. I'm definitely going to be ordering some enamels so I can work on the technique.
Bren, meanwhile, was in Keith Lo Bue's Weathering and Distressing class learning how to make things look old. She came back with some boxes with handmade wire clasps on them, distressed down to the wormholes.
Up next: Part B: Band Groupie with Melissa Manley.
You can see I had a little trouble getting the enamel out to the edges of the copper. I'm definitely going to be ordering some enamels so I can work on the technique.
Bren, meanwhile, was in Keith Lo Bue's Weathering and Distressing class learning how to make things look old. She came back with some boxes with handmade wire clasps on them, distressed down to the wormholes.
Up next: Part B: Band Groupie with Melissa Manley.
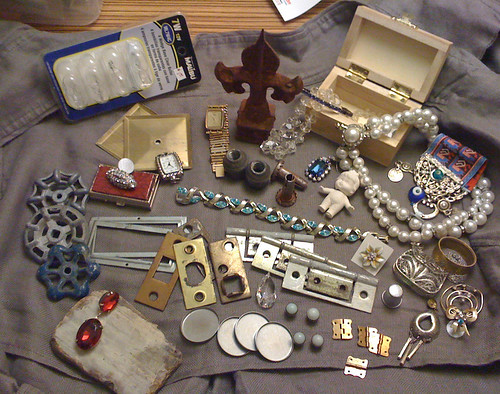
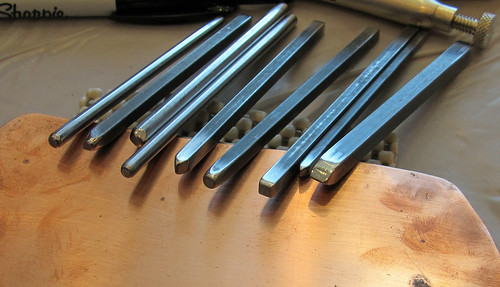
I'm in Houston for the week attending Adorn Me! Today was Tool Making with Richard Salley. My roomie Bren and I were both in this class. We're also taking the Repousse without Pitch class taught by Richard tomorrow. The idea is that we use the tools we make today in the class tomorrow. I had a little anxiety about whether I would get some tools made for the class tomorrow. It turned out that making the tools was quicker and easier than I thought it would be. At the same time some things I thought would be easy turned out to be a little tricky. We got to play with power tools! There were several bench grinders with various grind stones and polishing wheels, plus a couple of belt sanders.
Bren and I both agreed that the line tools were easy. I tried a teardrop tool and it was harder. I used a file to cut straight lines across the face of one tool, and deepened the cuts with my saw. This made a 4 line stamp. It was really hard to get the face of this tool squared so it would stamp correctly. It's still not perfect, but it's usable. One clever student in class did a set of tools that make a dragonfly about 3/4 of an inch long when put together.
Bren's tools:
 My tools:
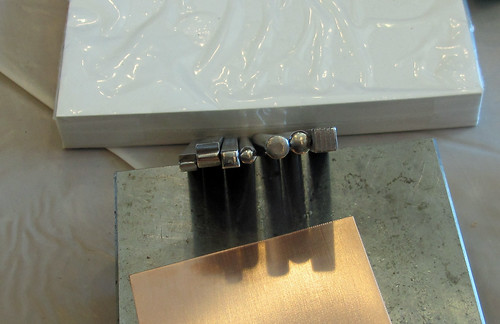 L. to R.: short line tool, long line tool, square punch, teardrop punch, round planishing, round punch, 4 line stamp.
I also did a curved line. The middle of the line came out a little wider than the ends so it looks a little like a waning moon, or the curved end of a flower petal. I decided I liked it that way so I left it.
Here is Bren with instructor Richard Salley:
L. to R.: short line tool, long line tool, square punch, teardrop punch, round planishing, round punch, 4 line stamp.
I also did a curved line. The middle of the line came out a little wider than the ends so it looks a little like a waning moon, or the curved end of a flower petal. I decided I liked it that way so I left it.
Here is Bren with instructor Richard Salley:
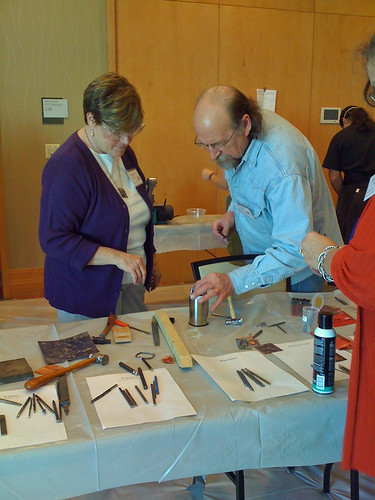 We've both taken classes from Richard before. He's an excellent instructor. The class also included hardening and tempering of the tools, and twisting the middle of the tools to give it a decorative spiral and a place to hold it. Bren and I haven't spiraled any of our tools yet.
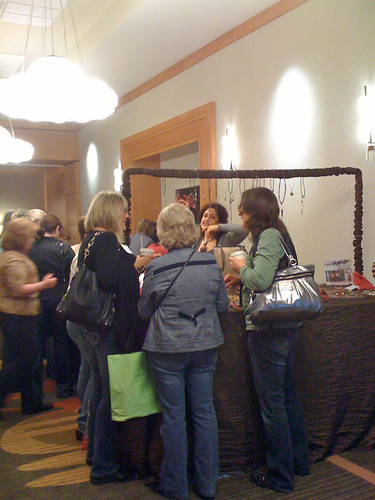
Susan Lennart Kazmer set up a store right before lunch. Here's a shot of the crowd around their booth. Maybe I'll do a little shopping there this week.
Guess who was the lucky winner of Deryn Mentock's online jewelry class "The Buildzone?" ME. Sometimes I do get lucky. I also won an awesome goodie bag.
I hope to get some pictures posted later of what I'm working on. The class is great. And I think you can still sign up. Check out Deryn's blog. And here's a link to her online classes.
My friend Martha has been making some new pendants that I really love. I visited her at her studio a few days ago and purchased a batch.
These are just a selection from the beautiful pendants I bought.
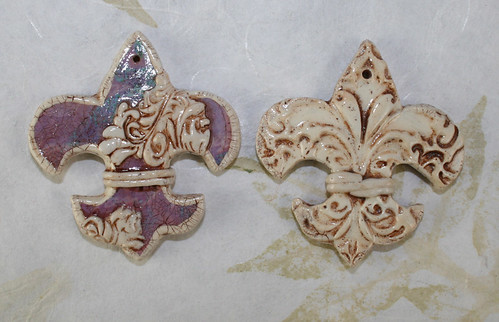 These are two of her large fleur de lis charms. That's the back of the right hand charm that I've shown. I love the way both sides of her charms are gorgeous.
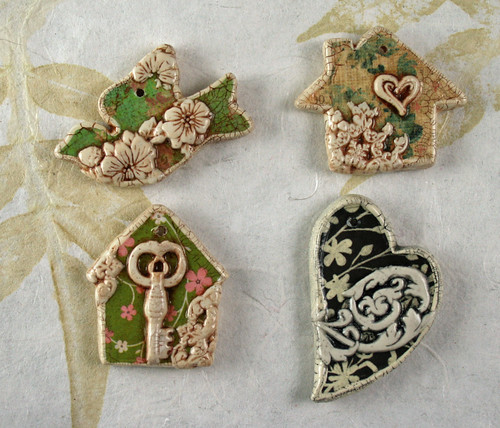 Aren't these great? I can't wait to use these and the others I got from her. Check out her blog here, and her Etsy store here.
Except he didn't knock.
I opened the front door one dark evening last week to check on Scrappy cat. The front porch light wasn't working and I caught a suggestion of movement in the blackness. I decided whatever it was had hid in the hedge. I had just turned back toward the living room when the commotion started.
"Oh my God, what is that thing?" my teen aged son yelled. And there, in my living room, was an adolescent opossum. He was slowly but steadily crossing through the room, moving very stiffly and rotating his head from side to side. He looked terrified. If possums could talk I'm pretty sure this one would be saying "Oh my God! Where am I?" Meanwhile, my son helpfully pulls his legs up into the rocker he's sitting in.
I called my husband, grabbed a handy cat carrier, and began running after Possum.
"Relax, they're harmless." My husband offers up from the next room. "They don't bite and they don't carry rabies or disease."
Harmless or not the possum was going to reach my floor loom if he continued on his present course. I was pretty sure that even non-biting disease-free possums are hard to extricate from beneath the treadles, harnesses, and beam of a loom. They do climb. And what's with that tail?
Possum crept steadily on through the living room, dining room, and into the weaving room, right up to the loom. Then he turned left and conveniently cornered himself by the door going out to the garage. I thought briefly about letting Possum go into the garage--there is a cat door to the outside--but I was afraid he would want to move in. We already have one teenager.
Hubby, who was still repeating "they're harmless; I saw it on TV," helped me gently sweep the possum into the cat carrier. Possum used all four feet and his tail to try and keep out of the cage, but eventually he saw the dark. (I covered the cage with a towel.) Did you know possums emit a foul I've-been-dead-for-three-days odor when frightened? Thank goodness removing the possum removed the stench. We left the cage, door open, in the yard.
Thirty minutes later he was still there, motionless and playing dead. This probably works well with animals, who don't seem to notice things that aren't moving. It doesn't work so well on humans. His big black unblinking eyes looking up at me through the vents on the cage kind of gave him away. I felt sorry for him, but not so much that I wanted to invite him back in.
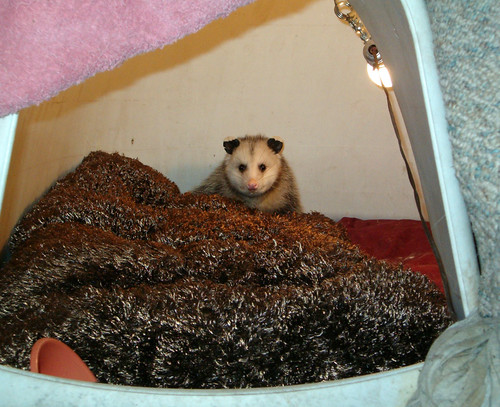 ( This picture is from several years ago when I opened the front door and a different possum panicked and ran into the dog house.)
PS: "Possum Come A-Knockin'" is a very good read-aloud book by Nancy Van Laan. Back in the day I used to read it to my son. I love this book.
( This picture is from several years ago when I opened the front door and a different possum panicked and ran into the dog house.)
PS: "Possum Come A-Knockin'" is a very good read-aloud book by Nancy Van Laan. Back in the day I used to read it to my son. I love this book.