
Melissa had a handy chart to help us determine how long to cut the ring stock for a particular size. Of course, despite measuring twice and cutting once, I still cut mine one millimeter too short. This represents 1/4 size if I read the chart correctly. Next time I'll cut to the side of the line instead of right on top of it.
We textured our rings, bent them into a "D" shape, and then pick soldered them. I had never pick soldered so I was pleased to get some experience with this. The rings were then shaped, bevels filed and some polishing and antiquing was done. I was able to wear my ring, just not on the finger I had intended! My seam was looking pretty good--not showing at all--until I antiqued the ring. I think a little more polish work will take care of that.

This is Bren's beautiful ring. Below is mine:
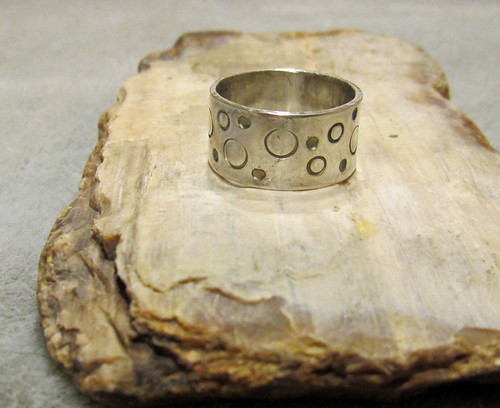
I used my hammer to gently texture the edge of my band. Now that I'm home I'll do some more polishing and put it in the tumbler for a while.
No comments:
Post a Comment