Tuesday, July 29, 2008
Pearls and Crystals
Here's a necklace and earrings set that I made that will shortly go up in my Etsy store, Essential Adornment. It features large diamond shaped freshwater cultured pearls, sterling silver, and large Swarovski crystals. This is the only time I've found pearls this color blue. The color is gorgeous, plus there is enough iridescence that the pearls will go with more colors than blue. I'm really happy with the way it turned out.
My Guest Blog on "Her Accessories"
This morning I was pleased to see my blog "Clip on a New Look" on Her Accessories.
Her Accessories is my favorite fashion blog and I've been following it for a long time. Gleaming Things is new, but I expect to be following it for a long time.
Check them out!
Monday, July 28, 2008
Tutorial Monday-Home Jewelry Business Success Tips
Friday, July 25, 2008
We're Off to See the Wizard
Unfortunately, Tutorial Monday may not be out until Tuesday due to our being gone and my medical checkup on Monday. So if it's not out Monday, look for it on Tuesday.
Wednesday, July 23, 2008
A Gift from Phoenix
And maybe a pack rat or lizard.
Monday, July 21, 2008
Tutorial Monday-A Mini Tutorial on Broom Straw Casting
I've posted before on broom straw casting, but this time I'm going to go into a little more detail.
You will need:
- an inexpensive straw broom
- a water bucket big enough to stand the broom in
- some concrete blocks, lumber or something to brace the broom upright in the bucket
- sterling silver or fine silver scraps to melt
- a torch (we use a propane torch; probably a mini torch would be too small)
- a crucible to melt the silver in
- long handled pliers or other tool to manipulate the hot crucible, or a crucible with a handle attached
- safety glasses for use with the torch
- a small can or container of water
- small wood saw, or similar cutting device
- scissors
- string for binding the broom head
The first step is to prepare the broom. Cut off the broom handle about one foot or less above the top of the broom head. Then cut the stitching holding the broom head in shape. It's best to cut it in a lot of places and pull all the strings out. After the stitching is removed bind the broom with some string into a round cylindrical shape. Put the broom head in your bucket of water and soak until the straw is damp. This only takes a few minutes.
After the straw has gotten damp you need to brace the broom head upright in the bucket of water. We used some bricks we had around to do this.
Now use the torch to melt the silver in the crucible.
When the silver is fully melted pour it into the end of the straw head. Don't pour all of it in one spot. Move the pour around a little. Smoking and burning will occur.
Put the crucible down and turn your torch off. Use your smaller container of water and pour it into the broom head to cool the silver.
If you are outside, like we were, cover the crucible with something to protect yourself and any kids or animals from the heat. An old metal pot, a flower pot or something like that works fine.
Let things cool down for a minute and remove the broom head. Upend it over the large bucket of water, stick it in the water, cut the binding, and shake the broom out in the bucket. The silver will fall out into the water where you can fish it out when it cools. It cools quickly. Examine your castings. If you don't like them you can melt the silver and try again. There may also be pieces that are too small to use, but you can reserve them for the next time.
If you've used sterling silver you'll need to brush, then pickle the casting to clean it. If you used fine silver you'll just need to brush it.
Broom straw casting makes interesting organic shapes that can be made into pendants, rings, or pins.
Here's a link to a post I did on broom straw casting at Metal Chik with different pictures.
Here's a nice PDF article by Dennis Chapman. He goes into some detail on finishing.
Here's another article on finewire group at MSN with lots of pictures.
Saturday, July 19, 2008
Vilma at Kiva
So far this is my 5th loan, and all the loans have been repaid or are being repaid, (except for this one which hasn't been disbursed yet).
Here's a link below, but after this loan is fully funded it will link to someone who still needs a loan.
Thursday, July 17, 2008
A Perfect Day
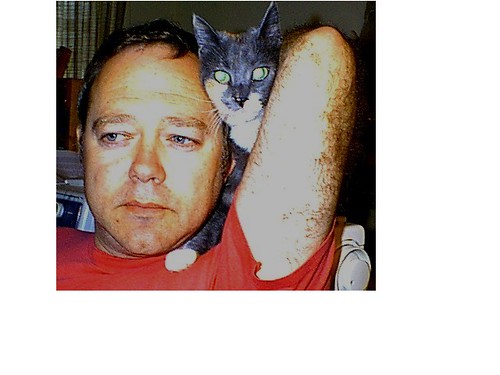
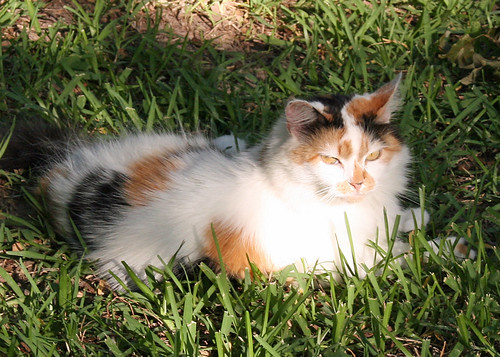
I'm really happy to have all my cats back home.
Tuesday, July 15, 2008
I'm Happy Today
Pawlie is in good shape. He hasn't lost weight. Many people here own cats and he has obviously been helping himself to their food.
Monday, July 14, 2008
Tutorial Monday-Etsy and Blog Banners
Today Tutorial Monday is a little different. Instead of a jewelry tutorial I'm sharing the the best of the banner tutorials I've found on the web. I've been kicking around ideas for my blog banner/header and my Etsy shop banner but haven't been sure how to go about creating one. I want a picture or two of my jewelry with the name of my blog. I also want something similar for my Etsy shop.
So far my favorite comes from Etsy Labs: Skill Share: Making A Banner. One of the reasons I like this tutorial is that it uses Photoshop and the directions are applicable to Photoshop Elements. I have Elements. I've taken a couple of courses in Photoshop Elements, but I don't always remember the facets of the program that I don't use often. Danielle goes over the steps and illustrates the process with some screen shots.
Brenda Smith of Serendipity Patchwork and Quilting has a good tutorial How to Create a Blog Banner, and well as one on Blog Buttons. Oh, and be sure to check out her blog.
Carole Casper has a tutorial for Blogger banners as well. Creating a Personal Header in New Blogger is a PDF file that you can download and print out for handy reference. She has other tutorials on creating a favicon, making links, and fabric art related tutorials on her blog A Stitch in Time.
Gabrielle Blair has a tutorial by Guest Mom Amy on Making a Blog Banner.
Paul Stamatiou has tutorial on HOW TO: Make a Blog Header Graphic.
You can get free graphics for your Wordpress header at Ten Free Cutline Header Images on Skitzo. For more on the Cutline Theme for Word Press see Chris Pearson. Captain Hops also has free graphics for Cutline.
More free graphics can be found at Blog Headers For Free Download. There are some very creative graphics here. All of the header graphics in this post came from here. Check it out.
Maybe you don't want to do it yourself. There are a number of people who will do blog and etsy banners, as well as website banners, for very reasonable fees. Here are some I've found:
Etsy Banners and Graphics by Jelene
Many of her banners have a colorful pop art style, but she also does some very close to what I had in mine for my banner. She has lots of examples to view. You can also buy through her Etsy shop Jelene's Pop Shop.
Callista's Graphic Design Studio
I really like the look of her work and she also does website and blog headers.
Wednesday, July 9, 2008
The Impatient Crafter Oo La La Collaged Pendants
I'm out of town for the rest of this week so I'm leaving you this fantastic video from Margot Potter, the Impatient Crafter™. I think this is my favorite one so far, probably because I have been working on some collage pendants myself. So far I'm doing digital collage but Margot makes the ink look like fun.
Monday, July 7, 2008
Orphan Bill Update-Action Needed
It's really easy to send email to the House and Senate if you go to this website. Don't remember your representatives name? No problem, they look it up and fill in the required info automatically. It takes two minutes.
Right now once a work, including a photo, is created it is copyrighted. It doesn't have to be registered. If an artist wants to register works of art, he or she can register a body of work instead of having to register things separately. If this bill passes the photo or art is NOT copyrighted until it is registered. Each work must be registered separately. This is not free. In addition, the creator of a work will have to pay, probably multiple times, to again register their work in an unspecified number of data bases to keep people from using the work without paying royalties. And you know what? That probably won't work.
Tutorial Monday-Mei of Wirebliss
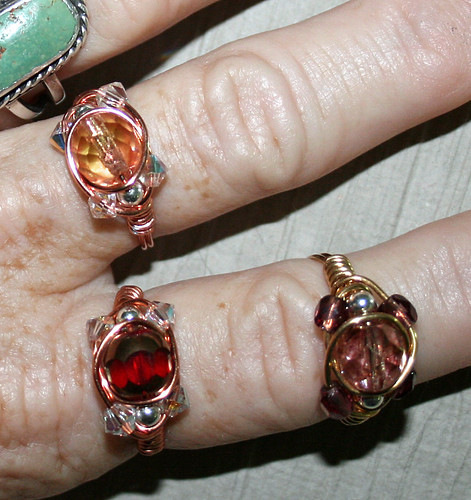
Lately I've been really interested in doing rings. This is a very lovely ring, and I purchased the tutorial on Etsy. The tutorial is delivered as a PDF. It's well written with lots of good detailed photos. I found it very easy to follow. The directions were clear and complete.
Sunday, July 6, 2008
Catching Up
Look for Tutorial Monday-Mei of WireBliss on Monday. Wednesday I'll be posting another video. Hopefully I'll get something else scheduled.
Friday, July 4, 2008
Happy 4th of July
Tuesday, July 1, 2008
Update on Tonia Davenport
Also her bracelet project "Save the Trees" from Plexi Class is featured as a free project on MyCraftivity.com.