Beaducation is an on-line commercial shoppe with on-line video classes. I've both shopped with them and done free and purchased classes. I've been very pleased with both my purchases and the classes.
Beaducation currently has 10 free classes, 29 classes available for purchase, and 9 classes marked "coming soon."
The ten free classes include stamping on metal, intro to chain mail, byzantine chain, making your own ear wires, and torch safety. I've done the
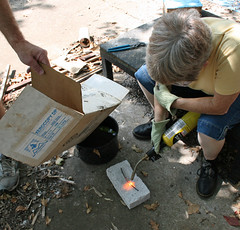
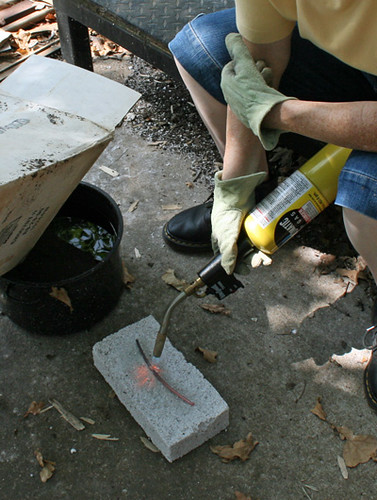
stamping on metal class and found it very clear and helpful. I also plan on doing the torch safety. I've been using a torch for a while to fire art clay and a review of safety never hurts.
The "for purchase" classes range in price from $12.00 to $38.00 with most being in the $38.00 range. I purchased the
Mermaid Braid Bracelet class and have found it very complete and easy to follow.
The classes show a close over-the-shoulder view from the angle you would be working from. Classes never expire, so this means you can go back again and again and watch it as many times as you want to . Each class is divided into fairly short segments, so you can review just the ones you need. The Mermaid Braid Bracelet class is divided into ten segments:
- introduction
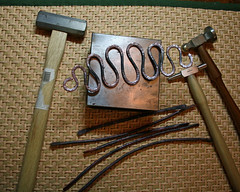
- tools and materials
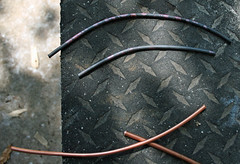
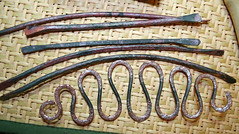
- step one: braiding with copper wire
- step two: braiding in lap
- step three: adding the cap
- step four: braiding with sterling wire
- step five: making the loops
- step six: shaping the bracelet and adding the clasp
- design ideas
- get to know your instructor
Purchased classes also include good "print yourself" instructions with pictures. There are no printed instructions on the free classes.
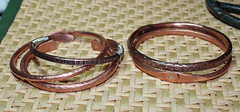
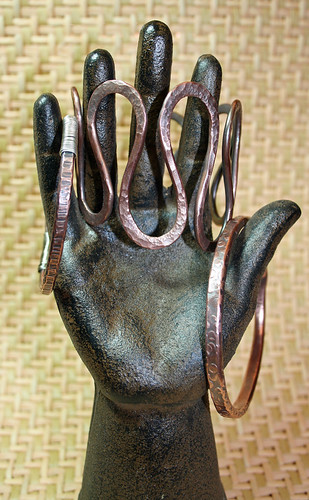
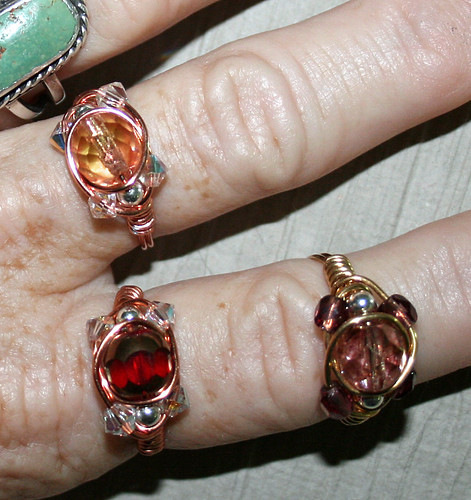
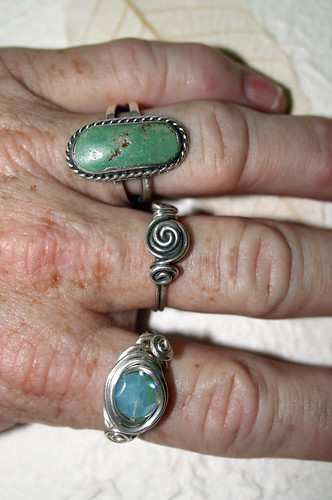
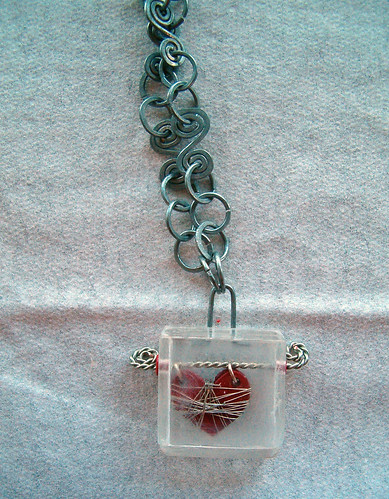
Techniques taught include chain mail, metalwork, mixed media, seed bead work, and wire work. At the time of this posting the mixed media classes are marked "coming soon." These include classes utilizing felt. All of the classes are graded according to skill level required.
Instructors include Lisa Niven Kelly, Barb Switzer, Laura McCabe, Dallas Lovett, Kate Richbourg, Lisa Claxton, Kriss Silva, Emily B. Miller, Mel McCabe, Colin Mahler, Gail Crossman Moore, and Iris Sandkülher. Quite an impressive list!
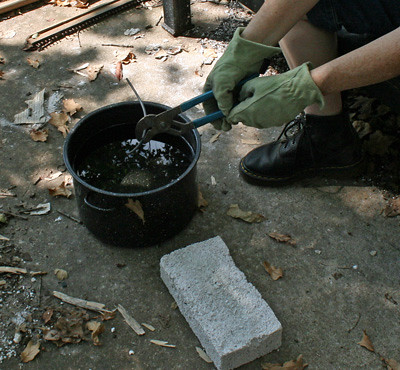
The shoppe also carries kits for many of the classes. Other supplies and tools are also available. They have a good selection of metal working tools, including some that I've not seen other places. You can buy stainless steel shot in convenient two pound bags, as well as metal punching pliers in two sizes, bracelet bending pliers, and their "fat daddy" cutting pliers for heavy gauge metal. They have a good selection of pattern stamps for metal, including some exclusive designs. Metal blanks in sterling, copper, and gold filled are available. One thing about their supplies, especially their metal stamps and cutters: they frequently sell out. If you don't want to be caught waiting until their next order arrives, buy quickly.


